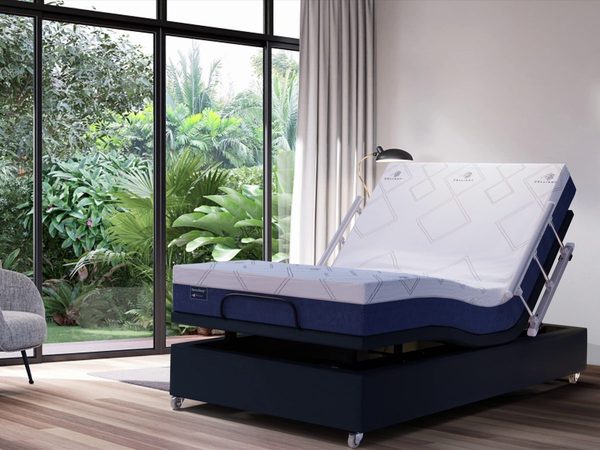
 Explore the Adjustable Bed
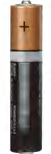
AAA batteries
3 AAA batteries for the remote
Adjustable bed installation and operation
Owner’s manual: installation, operation, safety, and troubleshooting.
Use this guide to identify components, assemble the bed, operate the remote control, and check common issues. Follow all safety instructions before use.
Read the following information carefully before using this product.
Do not open or tamper with the control box, motors, or remote control, apart from battery compartments. Tampering with internal components voids the warranty.
After assembly, operate the remote to confirm that all functions work. Keep moving parts free of obstructions, including sheets, clothing, tubing, wires, and electrical cords. Distribute body weight evenly across the bed; do not put all your weight on the head or foot sections when they move, or when entering or exiting the bed.
This adjustable foundation is designed for residential use. The manual states it is not approved for hospital use and does not comply with hospital standards.
Do not exceed the manufacturer’s weight or motor duty-cycle limits. Confirm the current limits with the manufacturer before use.
The manual contains an FCC compliance and radio-frequency notice. Confirm the current details with the manufacturer before relying on them.
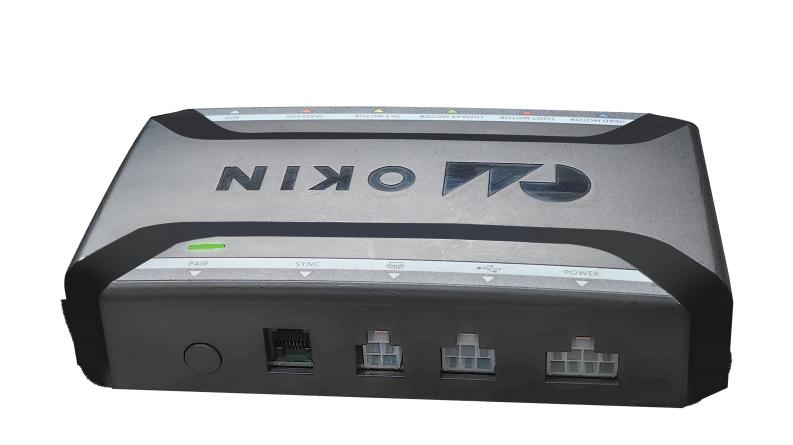
All electronics and components requiring installation are in the boxes beneath the foundation or attached to its frame. Check all items before discarding the packaging.
3 AAA batteries for the remote
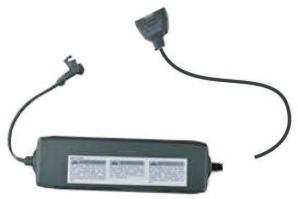
1 power supply
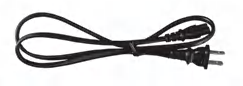
1 power cord

Casters for the bed frame. Confirm the quantity supplied in the package.
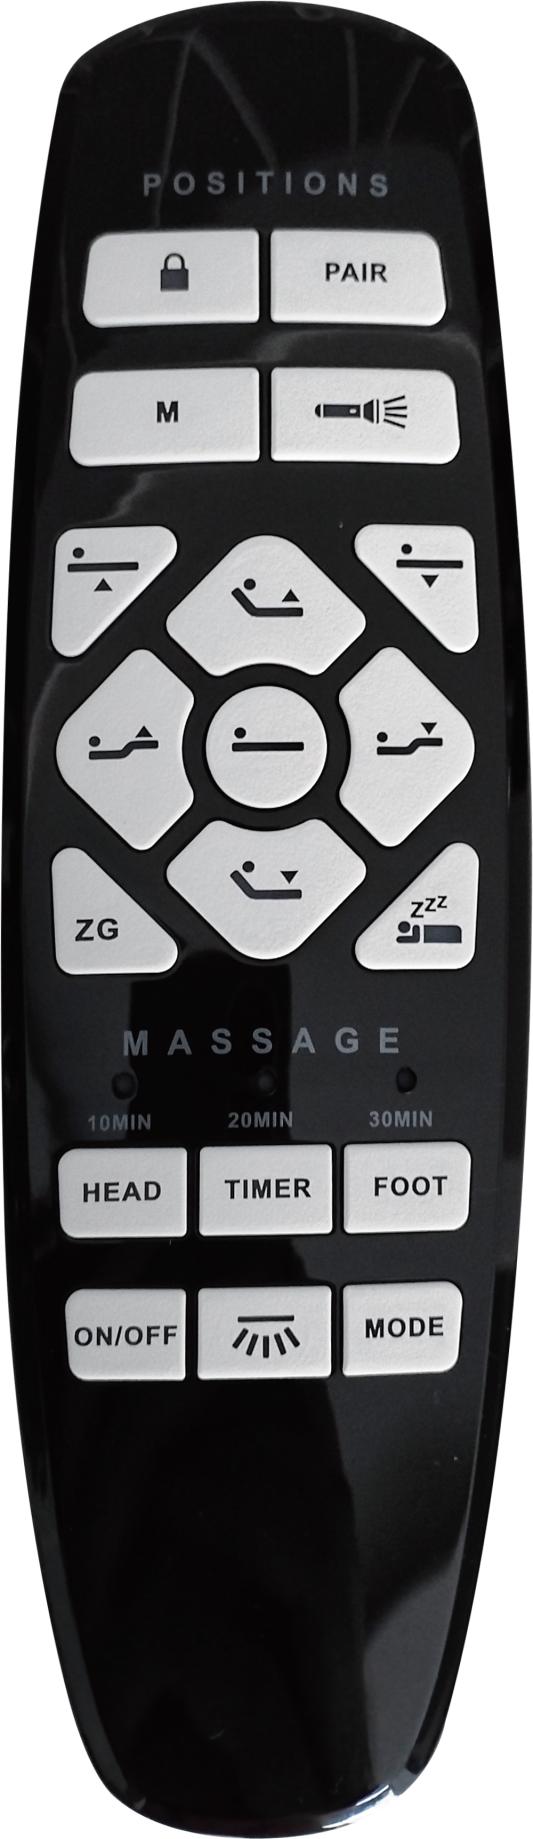
1 handheld remote control
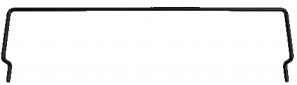
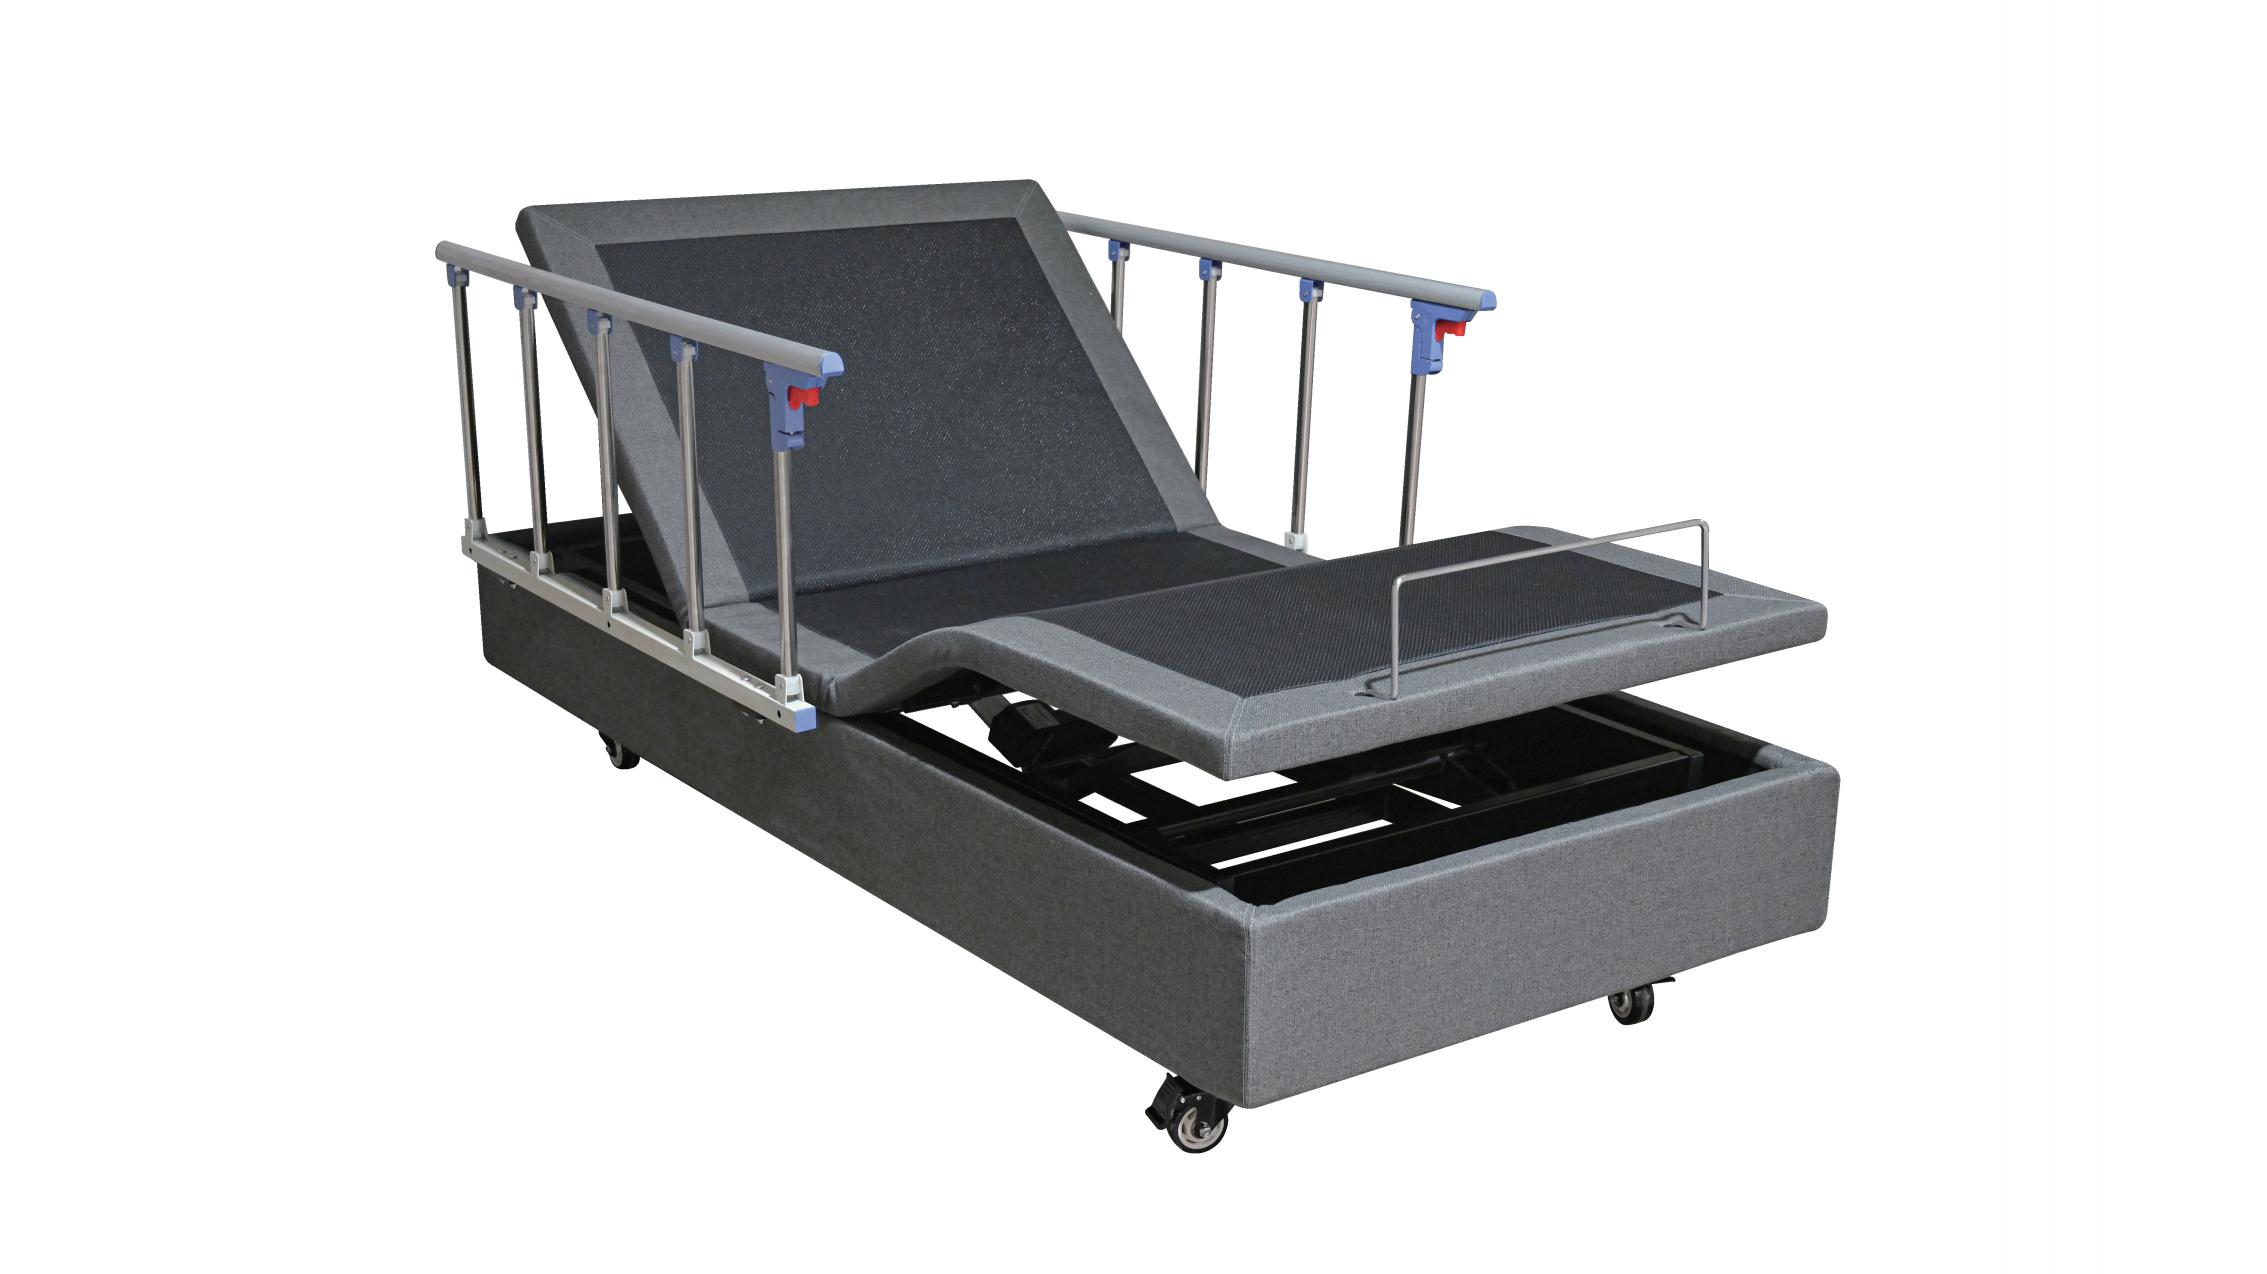
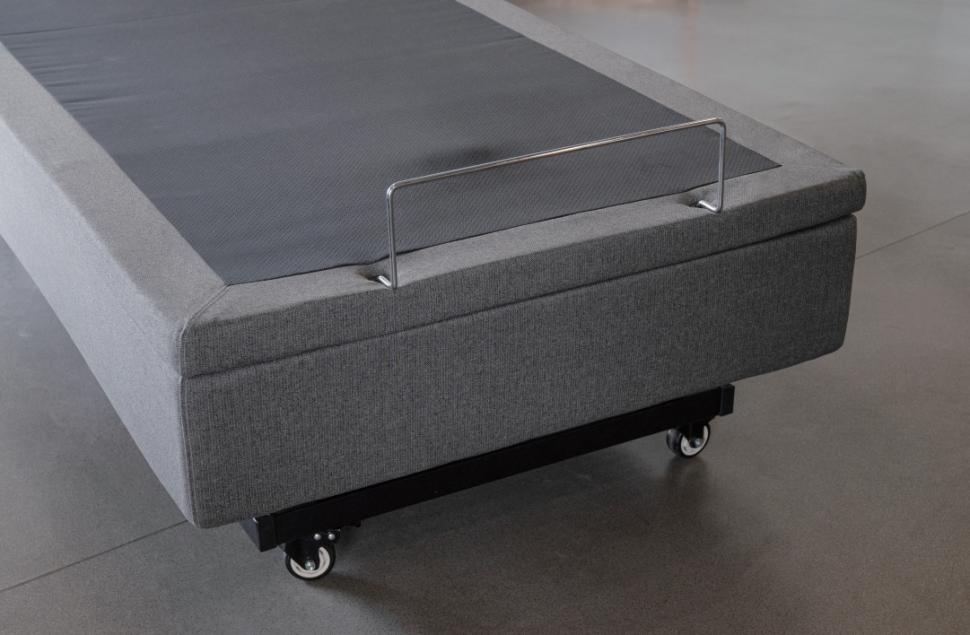
1 retainer bar attached to the frame
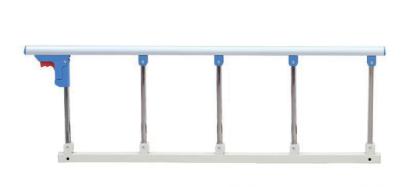
2 side safety rails
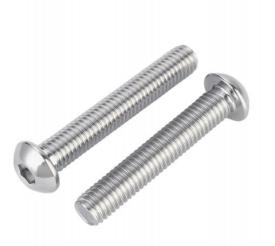
M8 x 32 (8) and M8 x 45 (8), as shown in the diagram
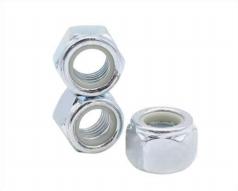
M8 (8)
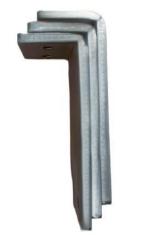
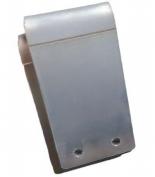
4 fixing plates

1 wrench

M8 x 16 x 1.6 (8)
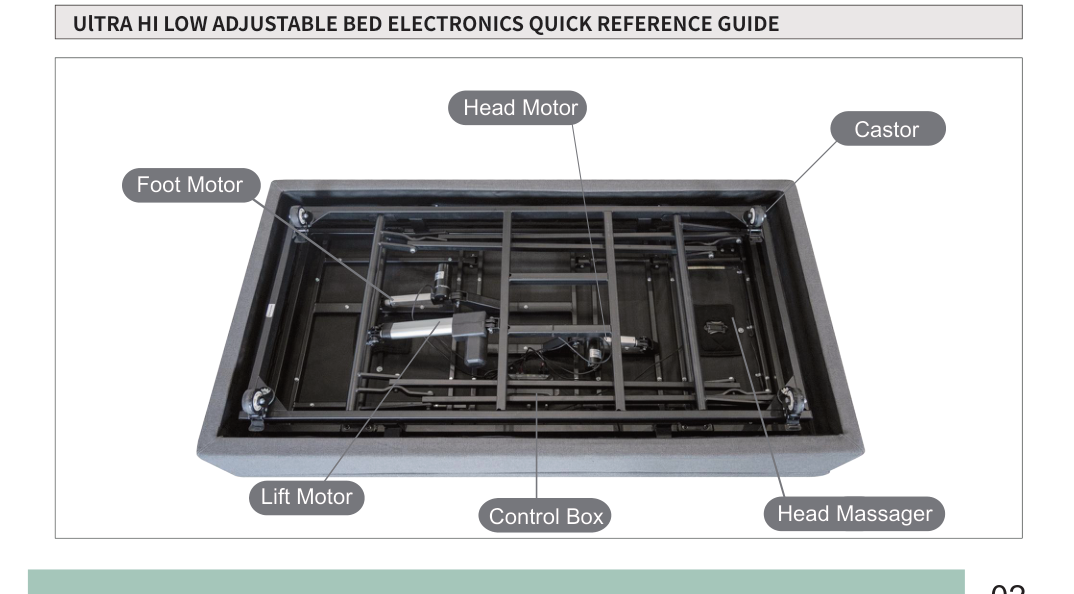
The underside diagram identifies the head motor, foot motor, lift motor, head massager, castors, and control box.
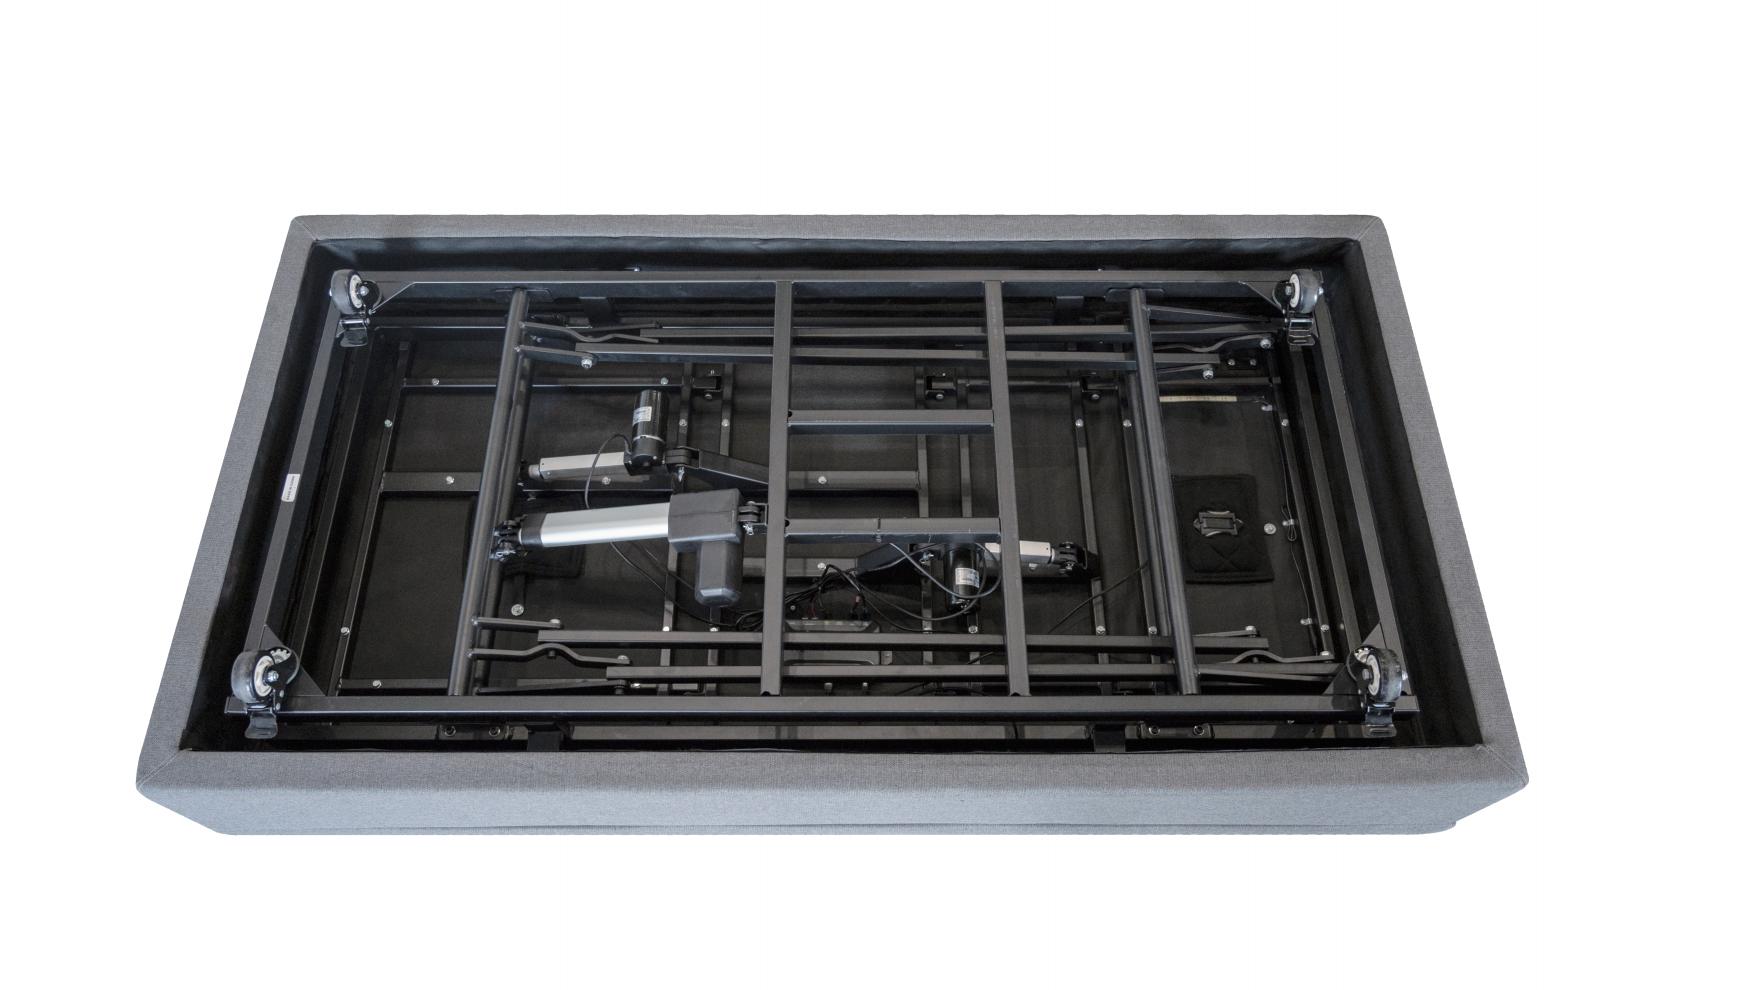
For safety, at least two people should lift the bed frame. Keep the bed in its flat position when unpacking.
Connect the power supply and remote before testing the bed.
Remove the power supply and power cord from the accessory box.
Connect the power supply lead from the control box to the power supply.
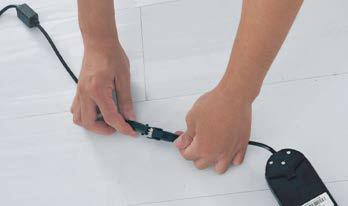
Connect the supplied power cord to the power supply.
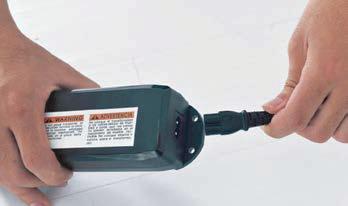
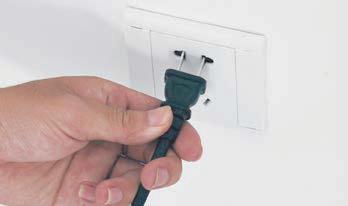
Plug the power cord into a working electrical outlet. The under-bed LED lights flash for approximately 10 seconds.
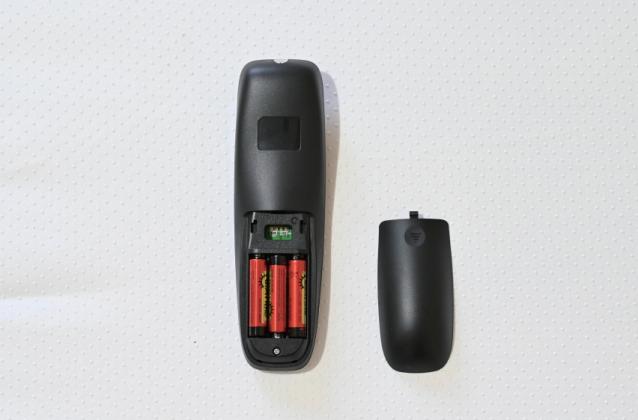
Insert the three AAA batteries into the remote control.
Press the lift buttons and verify that the bed responds. This completes setup for single or independent operation.
The supplied remote is normally paired to the foundation. If the remote does not control the bed, use these steps.
Check the remote batteries and replace them if necessary.
Connect the power cord to a working outlet.
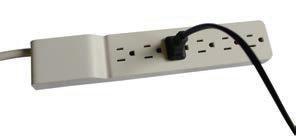
Unplug and reconnect the power cord, then immediately hold the Pair button on the remote for approximately 5 seconds until the indicator flashes and stops. The remote is paired.
Two people should carefully lift the bed out of the shipping carton and put it on a flat floor.

Lower the head and foot frame pieces with their top sides facing downward.
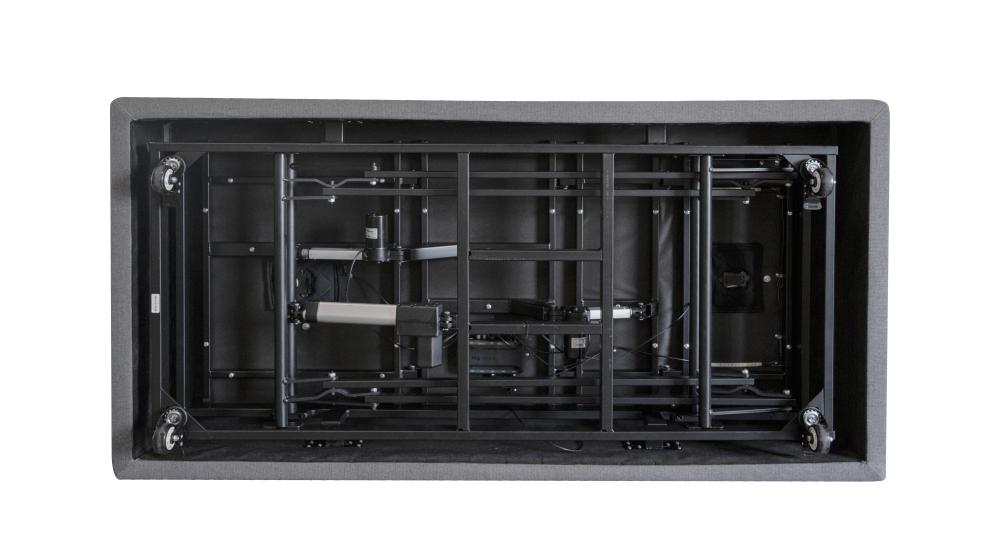
When the bed is level and lying flat, take the wheels from the accessory box and hand-tighten them clockwise into the pre-threaded holes on the frame.
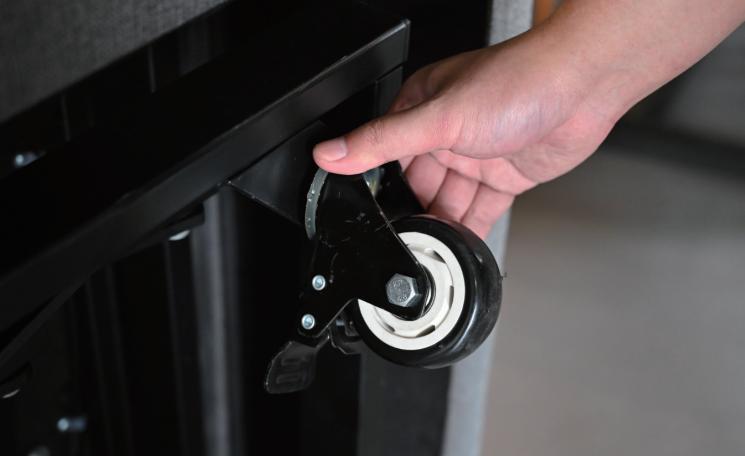
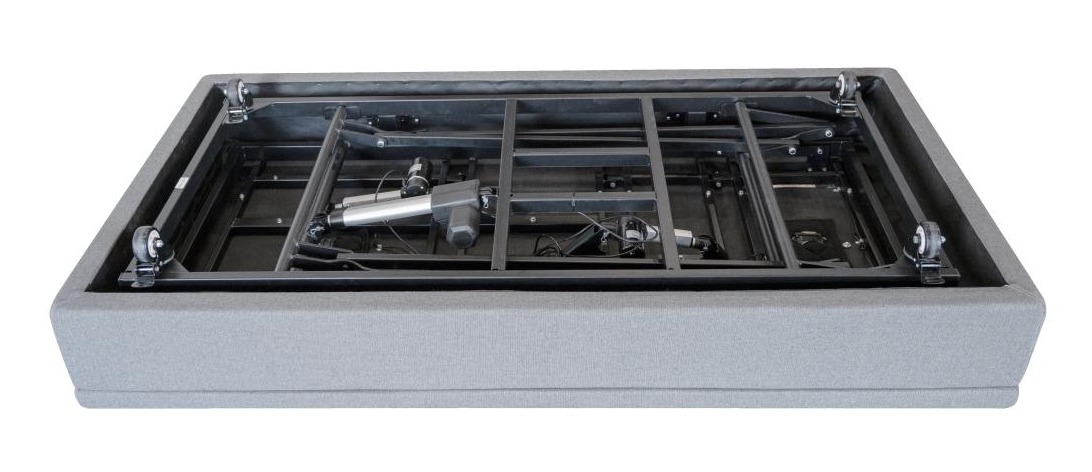
Carefully turn the frame top-side up. Insert the ends of the retainer bar into the quick-connect brackets at the foot of the bed.
Use the remote control to adjust the head, foot, and overall height of the bed, select preset positions, operate massage features, and control lighting.
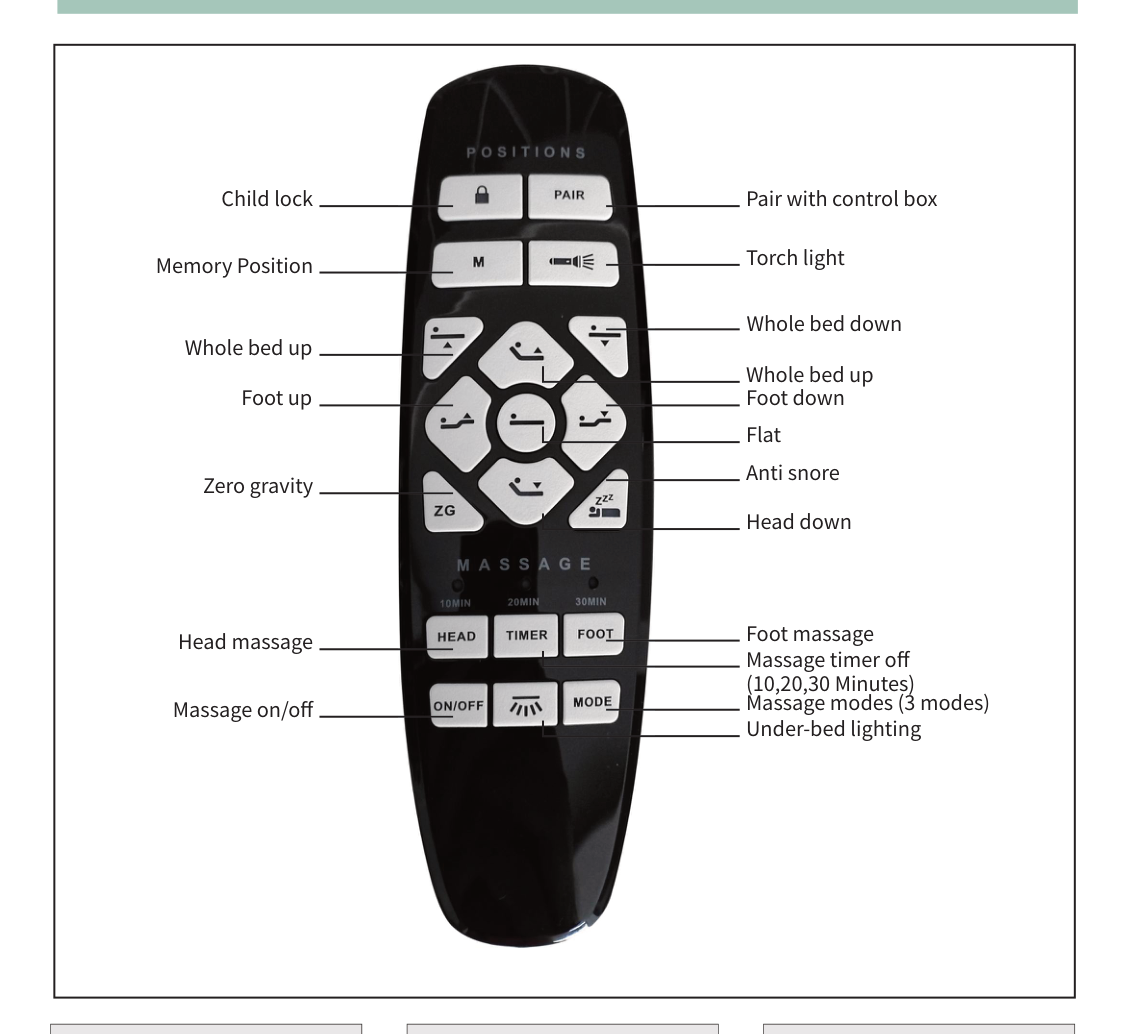
Raise or lower the head section.
Raise or lower the foot section.
Raise or lower the entire bed.
One-touch Zero Gravity position.
One-touch return to flat position.
Select the anti-snore position.
Recall the memory position using the M button.
Press the lock button to lock; hold for about 5 seconds to unlock.
Pair the remote with the control box.
Press and hold the flashlight button for the torch light.
One-touch under-bed LED lighting on or off.
Switch on the head massage.
Switch on the foot massage.
Choose between three massage settings.
Turn massage on or off.
Select a 10-, 20- or 30-minute massage timer.
Emergency power-down and optional side-rail installation.
If household power fails with the head or foot raised, the manual describes an emergency power-down function using two new 9V batteries (not supplied).
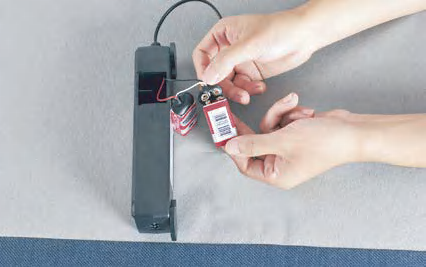
Install two new 9V batteries in the power supply battery compartment.
Press the Flat preset on the remote while mains power is unavailable.
Replace the two 9V batteries after the procedure. The manual specifies they are for single use only.
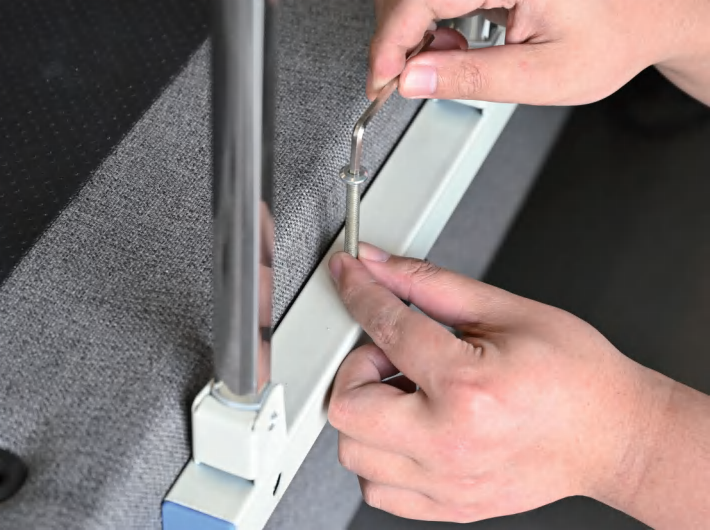
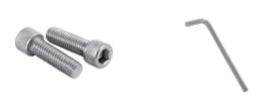
The side-rail components include the rails, fixing plates, hex socket screws, lock nuts and an Allen key.
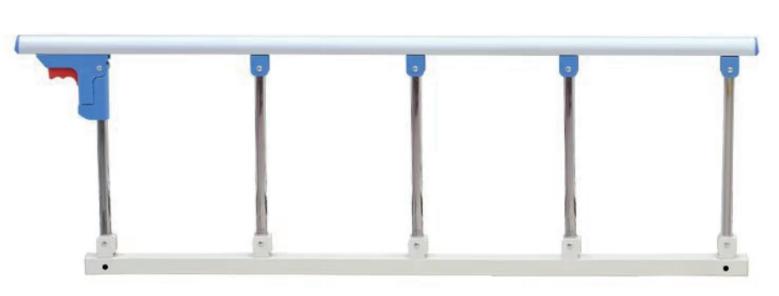
Locate the side rails and the relevant mounting hardware shown in the parts list.
Use the Allen key to tighten the screws on the side rail and refit the rail cover. Raising the head and foot sections may make installation easier.
Use the checks below if an adjustable bed function does not respond. Unplug the bed before inspecting wiring or other electrical components where appropriate.
After installing AAA batteries, press a remote button and check that its light turns on. If the light stays off after checking batteries, request remote-control support.
Try the Pair button for approximately 5 seconds. If unsuccessful, unplug the power cord, allow the power supply indicator to turn off, reconnect power and repeat Pair. Seek support if pairing still fails.
If the remote appears to work but the bed does not move, press and hold Child Lock for approximately 5 seconds to unlock.
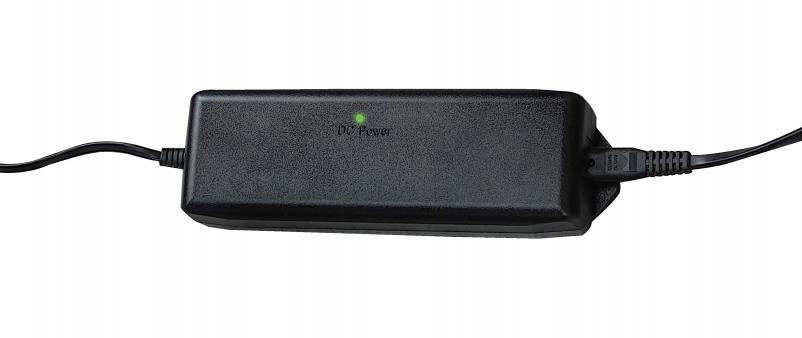
Check that the power supply and control box green indicators are illuminated. If either light is off, the relevant component may need service.
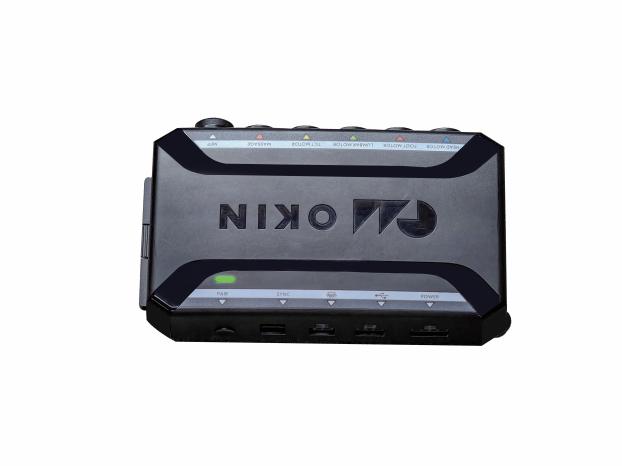
Check the power supply indicator when the bed does not respond. If it is off, confirm the connection and outlet before requesting support.
If the bed is stuck in a raised position, locate the control box beneath the bed and hold its Pair button until the bed is flat.